Malware and WordPress: 3 Ways to Check your Website

Malware is a worry for every website owner, and the evil lurking in many unsuspecting areas of the web. But getting infected isn’t the end of the world, and scanning and repairing your site is absolutely possible. (To learn more about protecting your site, read this earlier post, Site Security: What You Can Do.) If you want to check your site for malware, you can use one of these three methods (or a combination of them).
Video Instructions
When to check your site for malware
We highly recommend having a website application firewall (WAF) and a daily malware scan for every website you run. This will prevent hackers from attacking your site and notify you if any malware is detected. That being said, there are times when you need to manually check a site for malware, such as:
- When you first get access to a site
- If there are reports of potential malware, either from your web browser, users, or an advertising platform
- As a security audit of your site
Below, we’ll go through 3 tools that can check your site for malware.
Sucuri SiteCheck
Sucuri SiteCheck is a free tool that looks at the public facing aspect of your website and checks for malware. It also checks to see if your website is on any blacklist.
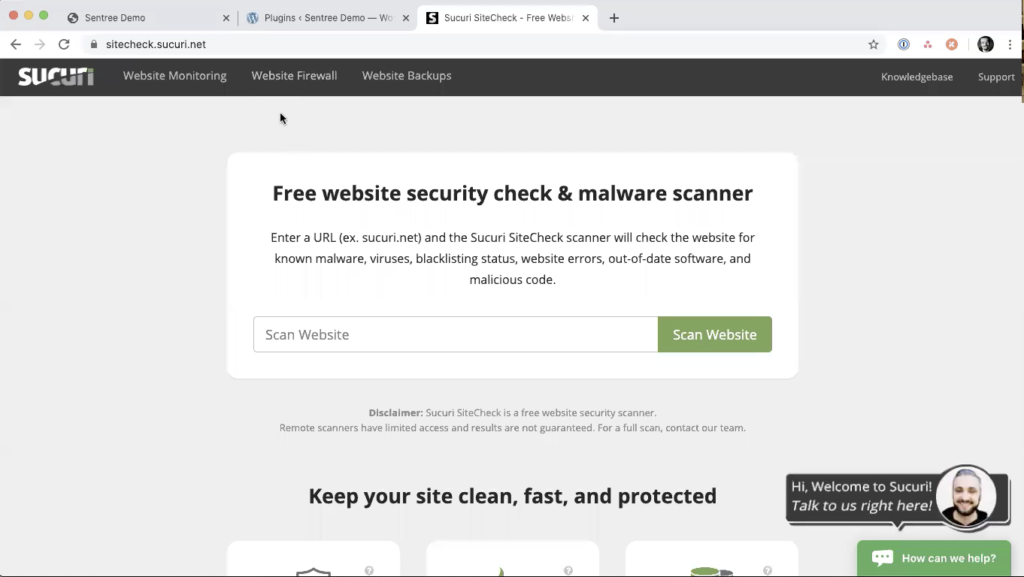
1. Go to https://sitecheck.sucuri.net and type your website address to perform a malware scan
2. View the scan summary
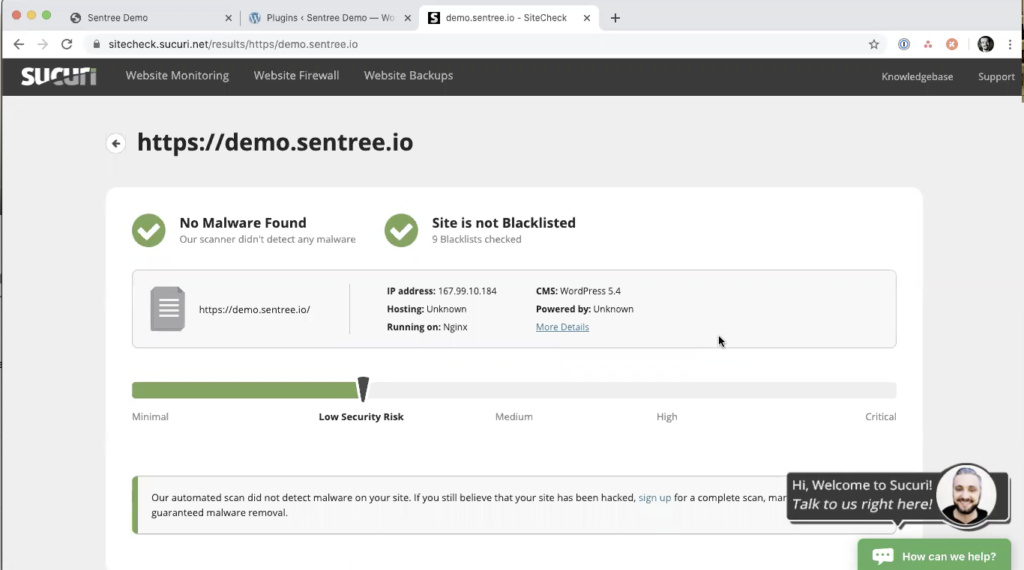
This summary is the most important part of the results. You want to make sure you see two green checkmarks for No Malware Found and Site is not Blacklisted.
3. Scroll down for additional details
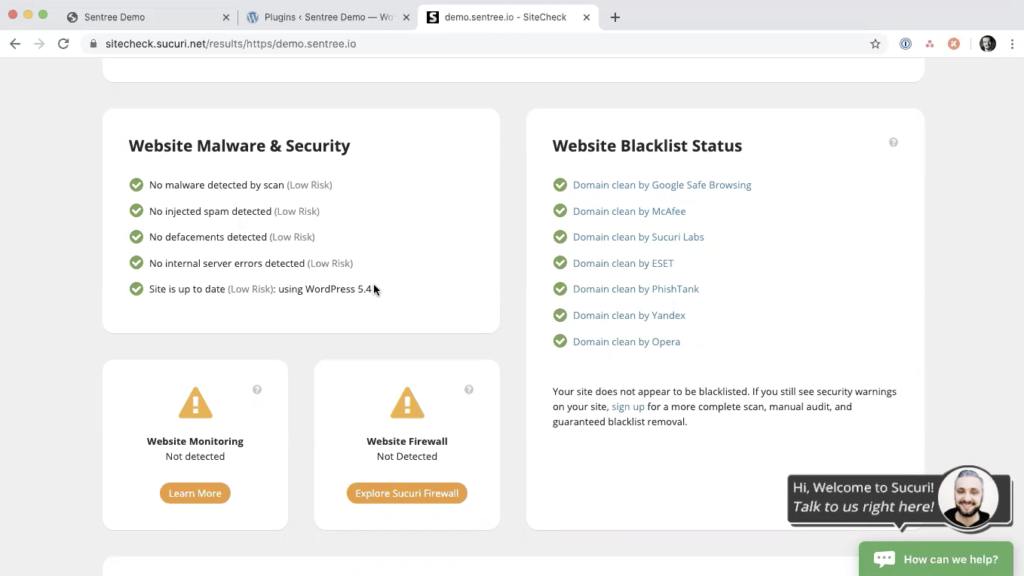
Especially if you did not get 2 green checkmarks, the details lower down the page explain what Sucuri detected that caused it to think you had malware. The left side shows malware scans it performed against your website and the right side shows any blacklists that your site is listed on.
The two orange warnings are related to having website malware monitoring and a website application firewall (WAF). Sucuri only seems to detect its own products, so that warning may not be valid for your setup. However, it is important to make sure you have daily malware scans and a web application firewall on your website.
NinjaScanner
NinjaScanner is a free plugin available in the WordPress plugin repository. They also have a paid version that allows you to schedule scans and some premium features. For performing a manual scan, the free version works well.
1. Install NinjaScanner
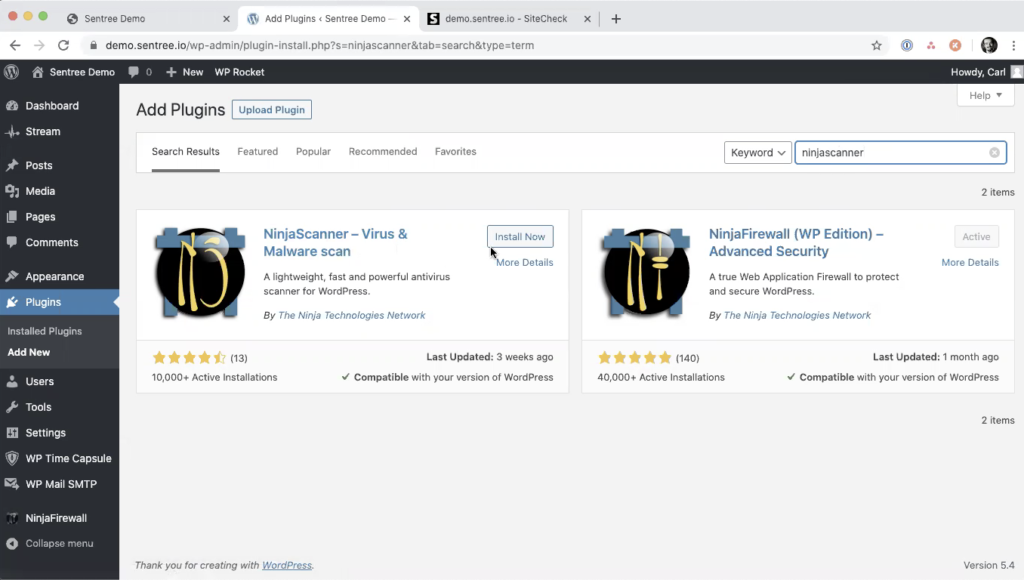
Log into your WordPress dashboard and go to Plugins > Add New and search for NinjaFirewall. Install and Activate the plugin.
2. Scan your blog for malware

Click NinjaScanner in your left menu and then click Scan Your Blog. The scan will run. This could take a while if you have a large website.
3. Review results of WordPress, plugin, and theme scan
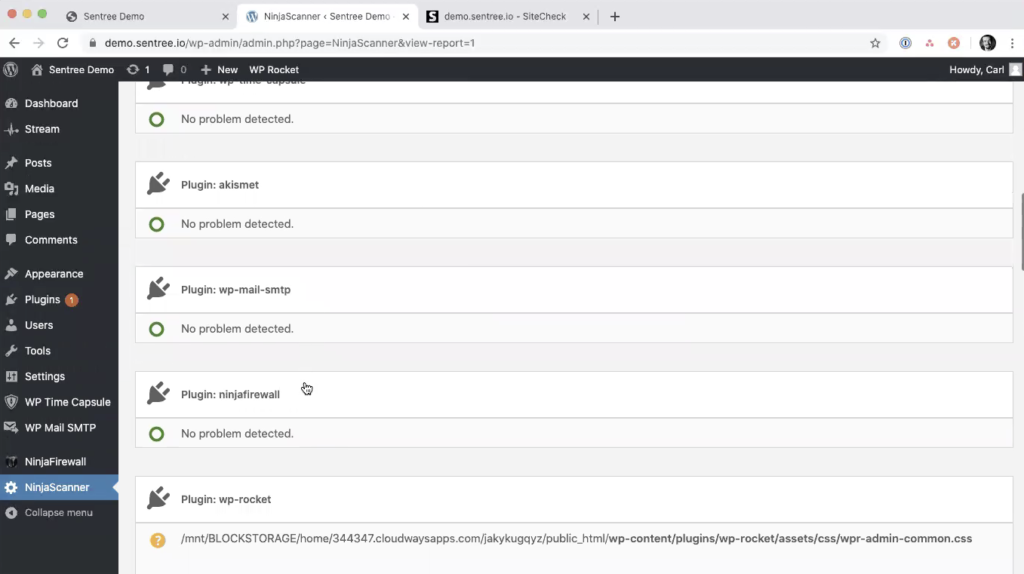
Once the scan is complete, you’ll see details about any changes to the files in WordPress core, every plugin, every theme, and other files and folders. This could take some time to review.
Items marked with a green circle are all good. You shouldn’t need to worry about those.
Items marked with a yellow question mark are unknown files. These are files that are not in the WordPress repository so the plugin does not know if they have been altered. This would include every premium plugin and every premium theme since the plugin does have access to the original files. For the premium plugins and themes, you’ll need to analyze them yourself for anything that does not belong or get a developer to assist you.
Items marked with a red exclamation mark are a known problem. These items you should look at carefully to decide what to do. If a core file was changed, you have the option to revert to the original version. If the file wasn’t originally there, you can quarantine it.
4. Review results of Anti-malware
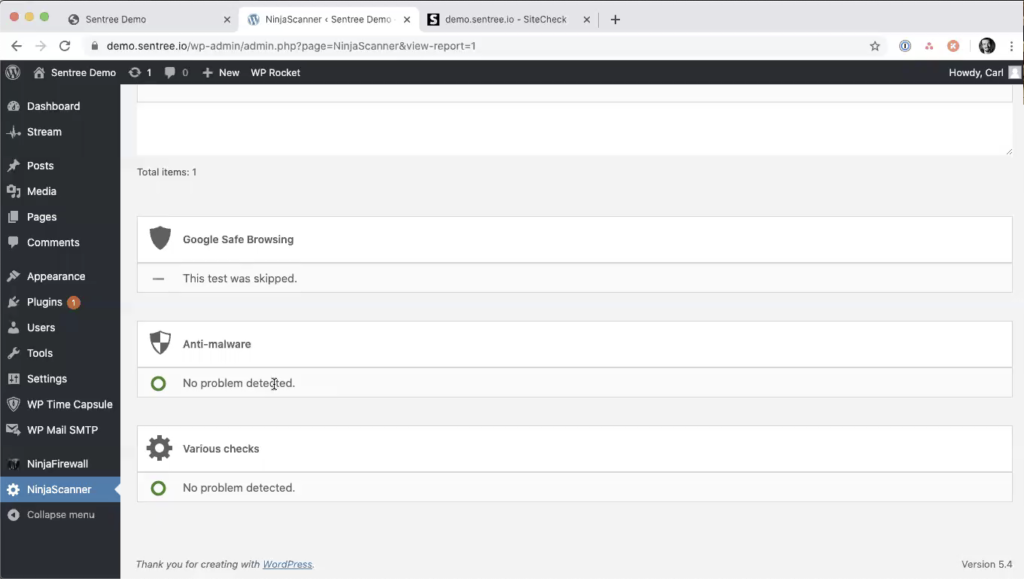
The most important section to review is at the bottom titled Anti-malware. If there is anything listed in this section, you need to investigate and clean up, either by reverting to the original version or quarantining the file if it’s not needed. If the file is in a premium plugin or theme, you may need to get the original files from the plugin or theme developer.
Blogvault
BlogVault* is a paid service that provides secure off-site backup with a 90-day history and daily malware scans (in their Plus or higher plans). We highly recommend this service because it automates two important aspects of website security – backup and malware scans. If you’re a Sentree client, we include BlogVault with every plan.
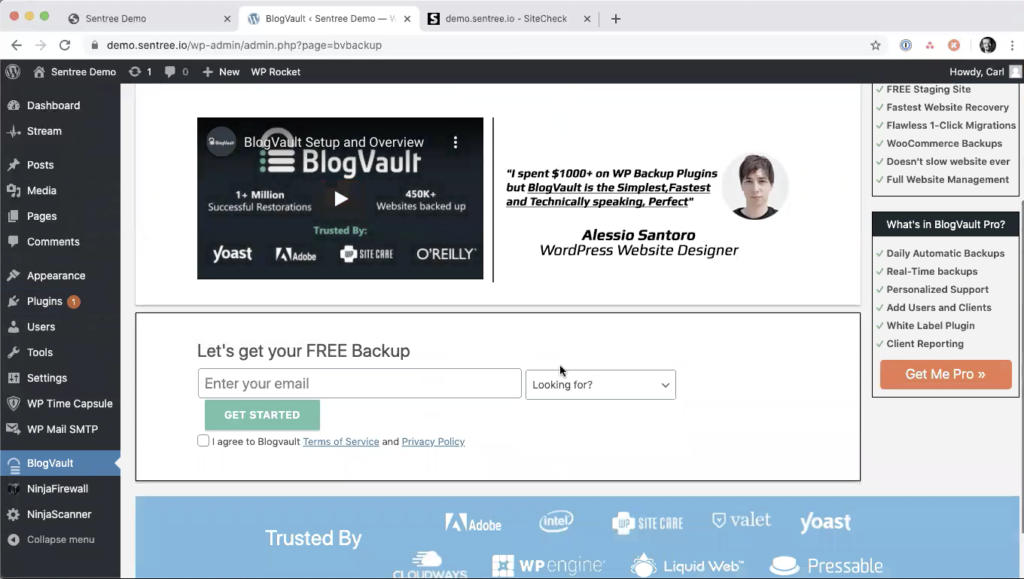
1. Install the BlogVault plugin

Log into your WordPress Dashboard and go to Plugins > Add New. Search for BlogVault and Install and Activate the plugin.
2. Activate your service
Once you install the plugin, you are redirected to a screen to activate your service. This is a paid product, so you need to go to BlogVault’s website* and sign up for a plan. Then you can enter your email address that you used for your BlogVault account in the plugin to connect your website to your BlogVault account.
3. Wait for the backup and scan to complete
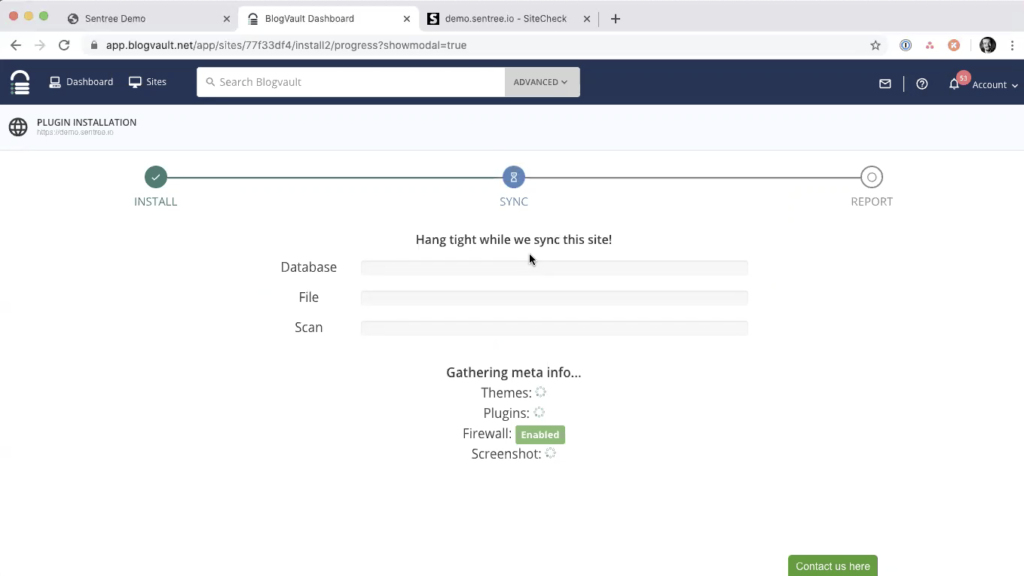
After you add your website to BlogVault, it performs a full backup of your website and runs a malware scan. You don’t need to leave the tab open. You will receive an email when it’s complete.
If malware is found immediately or at any point in the daily scans, you will receive an email notifying you. They offer an auto-clean option that may clean up the found malware. If not, you can reach out to support. However, even if auto-clean works, we recommend performing the NinjaScan as mentioned above to ensure all malware is cleaned up.
Summary
There are a lot of good tools for running malware scans in WordPress. However, they do require a certain understanding of web technologies and security to have the best results and ensure you site is clean and secure.
If you have malware on your site or are concerned about possible malware, feel free to reach out to us. We’ll be happy to do a free, no-commitment malware scan for you. If you decide to host your website with us, we’ll clean up all malware on your site. Plus, we’ll always monitor for malware or other problems with your site so you don’t have to. You can get started with a free trial today.
* Links marked with an asterisk are affiliate links. If you purchase a product through these links, we are paid a commission.